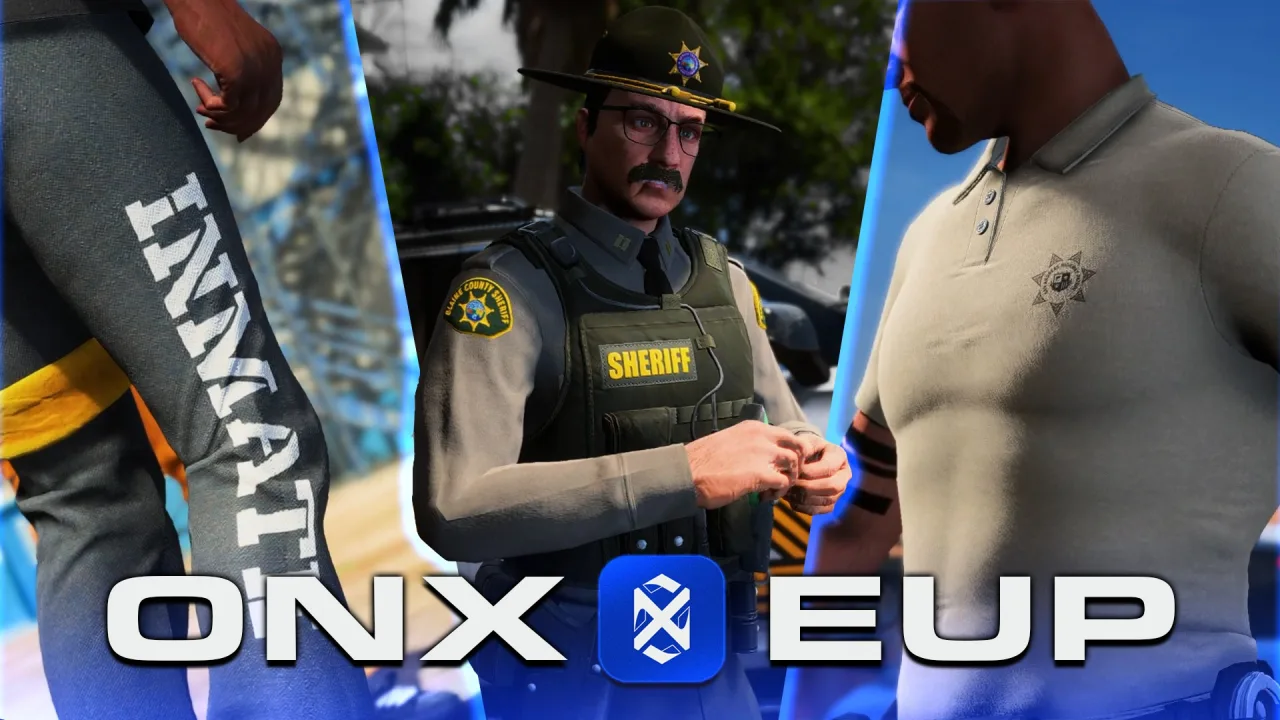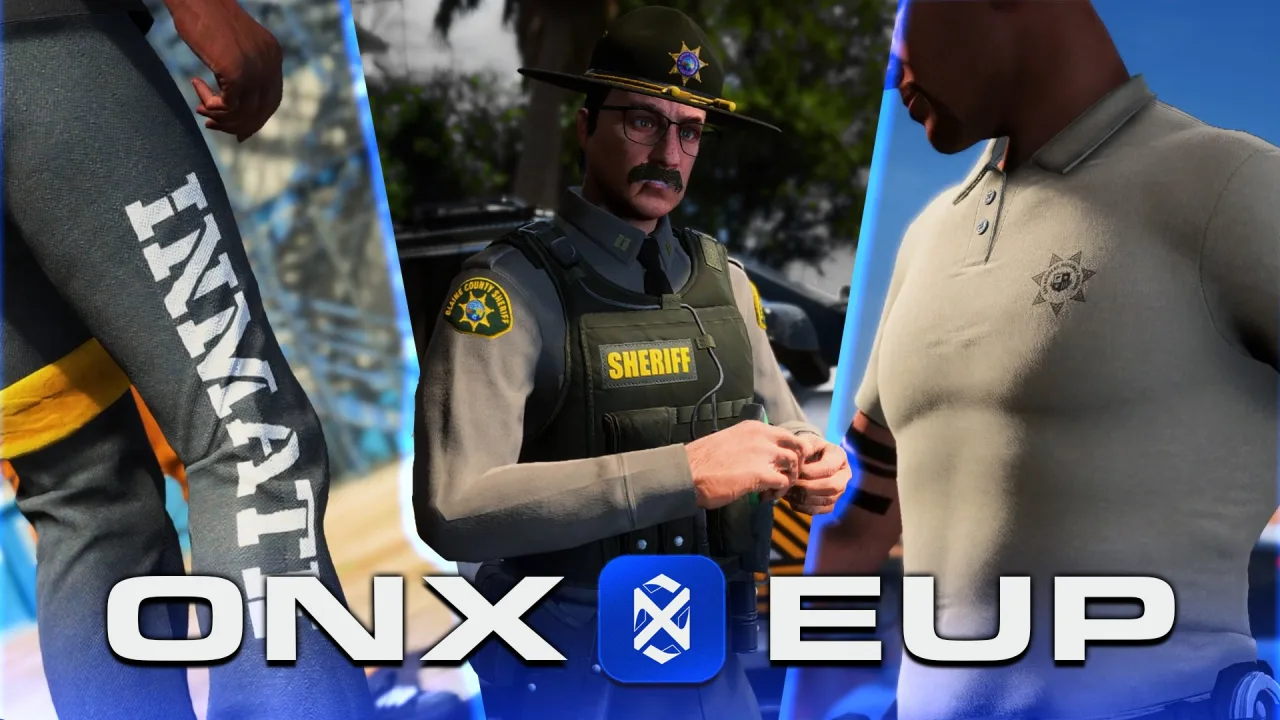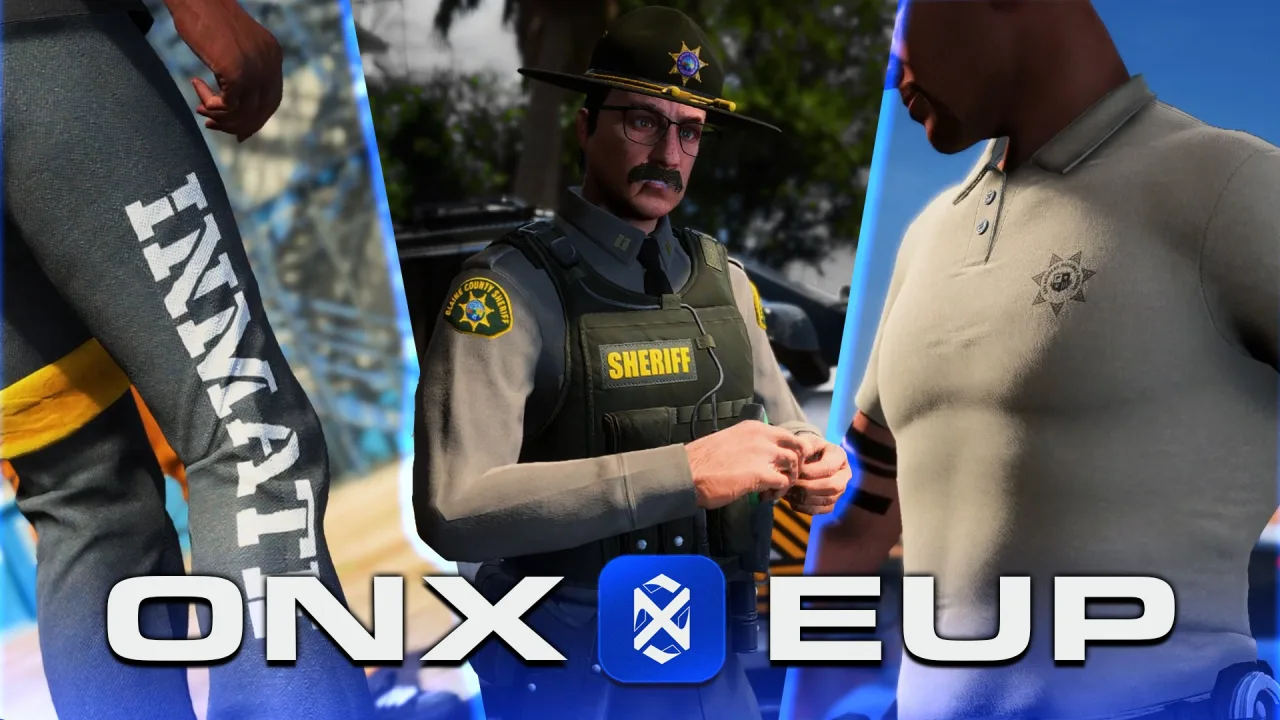
Custom peds are one of the highest-impact things you can add to a server — unique gang members, bespoke NPC shopkeepers, a player character model nobody else has — and also one of the most reliable ways to crash half your players if you do it carelessly. A bad ped doesn’t just look wrong; it can hard-crash any client that tries to render it. Here’s how to add them properly and why the broken ones break.
What an Addon Ped Is Made Of
A streamable ped is a small set of files: the model mesh (.ydd for the drawable components, .yft for the skeleton/fragment), the textures (.ytd), and the metadata that tells the game what kind of ped this is. For a full custom character you’ll often also see component and prop metadata if the ped has swappable clothing or accessories. The whole lot goes in a stream folder inside your resource.
Replace vs Addon Peds
You have two options and they behave very differently:
- Replace peds overwrite an existing game ped using its original model name. Simple to drop in, but you lose the original ped everywhere it spawned — every ambient NPC that used that model is now your custom one. Fine for swapping a specific NPC, messy if that base ped was common.
- Addon peds are registered under a brand-new model name, leaving all the originals intact. This is what you almost always want for custom characters: you add to the roster instead of clobbering it. The cost is slightly more setup — you have to register the new name so the game knows it exists.
Manifest and Registration
Your fxmanifest.lua needs to expose the stream folder (files / the implicit stream/ scan) and, for addon peds, declare the metadata so the engine treats the new model as a valid ped. The model is then referenced by its model name — the same name you’ll pass to SetPlayerModel for a player skin, or to CreatePed / your NPC spawner for an NPC. Always request and load the model hash before you use it (the standard “request model, wait until it has loaded, then spawn” pattern); spawning before the model streams in is a classic source of invisible or fallback peds.
Using It for NPCs and Player Skins
For an NPC, you load the model and spawn it at a coordinate with CreatePed, set it persistent or let it despawn as needed, and freeze/scenario it if it’s a static shopkeeper. For a player skin, SetPlayerModel swaps the local player to the custom model — after which you may need to refresh appearance/components depending on your clothing system. The key discipline either way: request the model, confirm it loaded, then use it, and release the model when you’re done so you’re not pinning assets in memory.
Drawable and Texture Variation Limits
Peds have a fixed component structure — head, upper body, legs, feet, accessories, and so on — and each component has drawables, and each drawable has textures. Custom peds frequently ship with fewer variations than freemode peds, and that’s fine, but your clothing or appearance script has to respect the limits the model actually has. Asking for drawable #15 on a component that only has four will give you a missing/invisible component or a texture-less mess. If a custom ped looks like it’s wearing nothing or shows the default checkerboard, you’re either over-requesting a variation or missing the texture entirely.
Why Bad Peds Crash Clients
This is the part that turns a cosmetic mistake into an outage. The common crash causes:
- Missing textures. A drawable that references a texture not present in the
.ytdcan crash the renderer when the ped comes into view — and it crashes every client who sees it, not just the one who spawned it.
- Bad or missing collision. A ped without proper collision can throw clients out, especially in vehicles or during ragdoll.
- Over-budget models. Wildly high-poly peds or oversized textures blow the streaming budget. Symptoms are texture pop, NPCs rendering as low-detail blobs, and stutter when several spawn at once.
- Skeleton mismatch. A model exported against the wrong skeleton animates wrong or crashes during certain animations.
The pattern is consistent: a single broken ped is a server-wide liability because it crashes whoever renders it. Test every new ped on a dev server and walk right up to it before it goes near a populated instance.
Keep the Stream Folder Lean
Every ped you stream costs memory whether or not anyone’s looking at it. A roster of fifty custom gang peds with 4K textures will eat your budget and punish players on weaker hardware. Use sensible texture sizes, don’t ship variations you’ll never use, and remove peds you’ve stopped spawning. A lean ped library keeps your overall streaming headroom available for the things that change every frame — vehicles, players, and effects.
Freemode vs Custom Skeleton and Clothing
One decision shapes everything downstream: is the ped built on the freemode skeleton (the mp_m_freemode_01 / mp_f_freemode_01 base) or a custom one? Freemode-based peds are compatible with the huge ecosystem of MP clothing and your existing character-creator/clothing scripts — drawables and props you already stream will work. A custom-skeleton ped looks unique but is effectively a closed model: standard clothing won’t fit it, and your appearance system has to be told to treat it specially. For player characters you want flexibility on, freemode-compatible is the safer base; reserve custom skeletons for fixed NPCs where you’ll never swap clothing.
Where to Get Clean Peds and Keep Things Fast
Save yourself the crash-hunting by starting with properly built models.
The Short Version
Prefer addon peds over replaces so you don’t clobber base models; stream the .ydd/.yft/.ytd, declare them in fxmanifest.lua, register the new model name, and always request-and-load the model before SetPlayerModel or CreatePed. Respect each model’s drawable/texture limits, keep the stream folder lean, and test every ped on a dev server — because missing textures, bad collision, and over-budget models crash all clients who render them, not just you. Build players on the freemode skeleton for clothing compatibility; save custom skeletons for fixed NPCs.